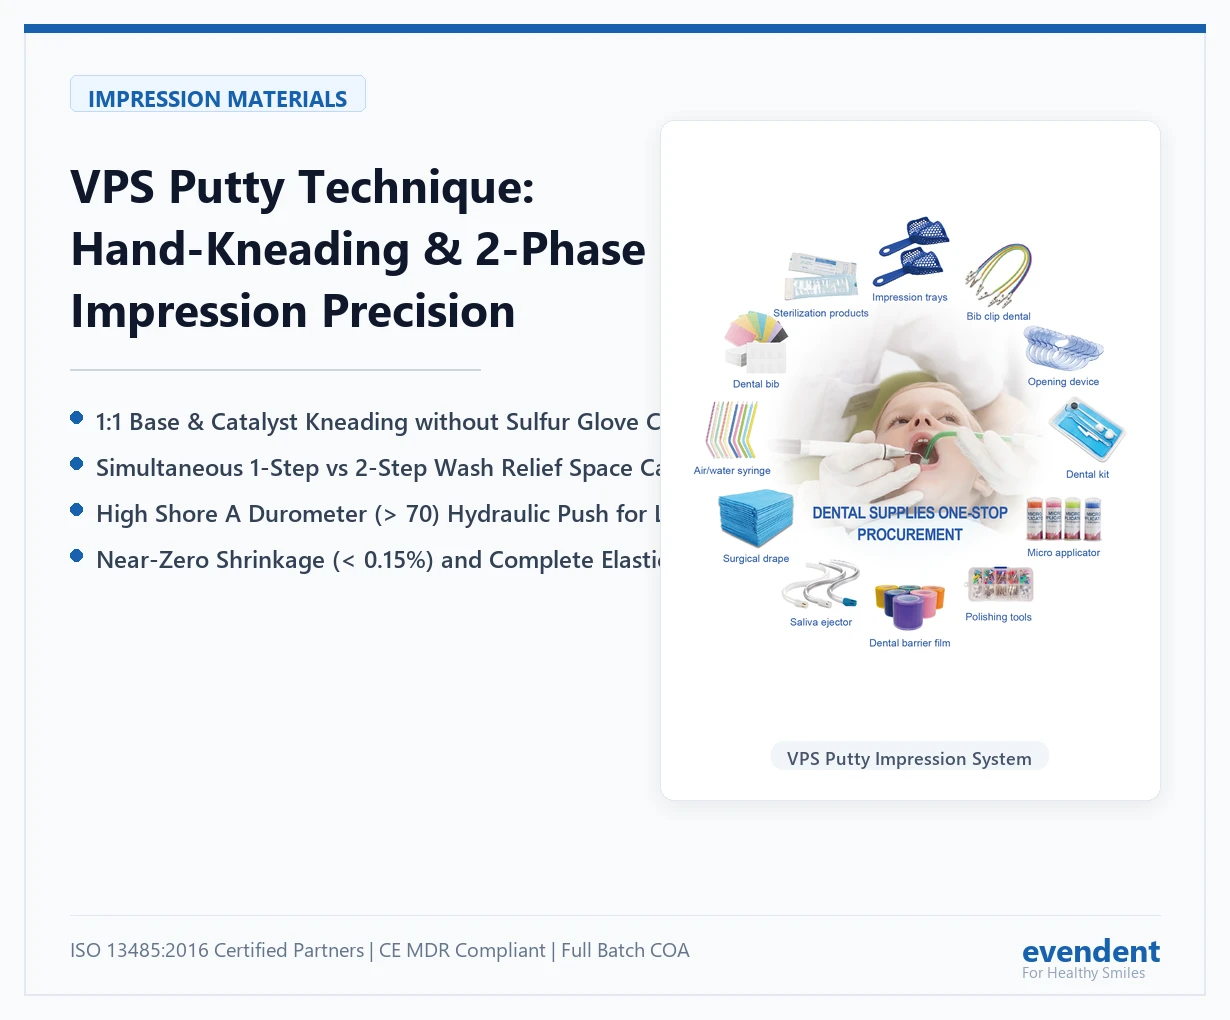

Addition-curing Vinyl Polysiloxane (VPS) is the clinical gold standard for precision fixed prosthodontics, implantology, and aesthetic veneer impressions. VPS putty materials provide a rigid, high-viscosity foundation that drives low-viscosity wash material deep into delicate subgingival margins and interproximal sulci.
However, two widespread procedural errors continue to jeopardize VPS impression fidelity: sulfur-induced polymerization inhibition caused by latex glove contact, and hydraulic stepping artifacts stemming from incorrect two-phase impression staging.
1. Platinum Catalyst Poisoning: The Latex Glove Sulfur Inhibition Mechanism
Addition silicone cures via a hydrosilylation reaction, in which vinyl-terminated siloxane polymers cross-link with polymethylhydrosiloxane in the presence of an active chloroplatinic acid (Speier’s or Karstedt’s) platinum catalyst.
Vinyl-Siloxane + Si-H Oligomer  ---[Platinum Catalyst]--->  Cross-Linked Silicone Matrix (Cured Putty)
                                          |
                              Sulfur / Dithiocarbamate
                                          v
                               Catalyst Poisoned (Uncured Sticky Surface Layer)
The Contamination Pathway
- Natural rubber latex gloves are vulcanized using sulfur compounds and sulfur-containing accelerators (such as zinc dimethyldithiocarbamate).
- During manual hand-kneading of putty Base and Catalyst, microscopic sulfur particulates transfer to the silicone paste.
- The sulfur atoms bind irreversibly to the active platinum coordination sites, completely inhibiting the polymerization reaction.
- Clinical Consequence: The surface of the putty adjacent to the tooth preparation remains an uncured, tacky paste that adheres to the tooth upon removal, producing severe dimensional distortion.
- Mandatory Protocol: Putty kneading must only be performed with clean Nitrile gloves, Vinyl gloves, or thoroughly washed bare hands.
2. One-Step vs. Two-Step Two-Phase Impression Protocols
Dental practitioners generally employ either the simultaneous single-step or the two-step impression technique:
Technique A: Simultaneous 1-Step (Putty / Light-Body)
- Workflow: The dental assistant kneads putty and loads the tray while the clinician syringes light-body wash around prepared finish lines. Both materials are seated together in the patient’s mouth while unpolymerized.
- Advantages: Saves chairside time; single insertion; chemical copolymerization at the putty-wash interface.
- Disadvantages: Putty can exert uncontrolled hydraulic pressure, pushing light-body wash away from critical tooth margins; high risk of “putty rebound” if the putty has begun to gel during final seating.
Technique B: Two-Step Putty/Wash Technique (With Relief Space)
- Workflow:
- Take a preliminary putty impression before tooth preparation (or with a spacer film such as polyethylene foil placed over the arch).
- Allow putty to cure completely and remove from the mouth.
- Carefully cut away interdental undercuts and carve hydraulic relief channels in the set putty with a lab scalpel blade.
- Syringe freshly automixed light-body wash into the carved putty tray and around the prep, then reseat under gentle axial pressure.
- Advantages: Precise hydraulic control; guarantees a uniform 1.5–2.0 mm layer of wash material around margins; zero wash displacement by rigid putty.
3. Comparison of VPS Putty Viscosities & Shore A Hardness
| Technical Property | High-Elasticity VPS Putty | High-Rigidity VPS Putty | Condensation Silicone Putty (C-Silicone) |
|---|---|---|---|
| Curing Reaction | Addition (Hydrosilylation) | Addition (Hydrosilylation) | Condensation (Alcohol by-product) |
| Final Shore A Hardness | 65 – 70 Shore A | 72 – 78 Shore A | 60 – 68 Shore A |
| Volumetric Shrinkage (24h) | < 0.15% | < 0.10% | 0.50% – 1.20% (Continuous shrinkage) |
| Elastic Recovery | > 99.6% | > 99.5% | 98.0% – 98.8% |
| Storage Dimensional Stability | Up to 14 days (Excellent) | Up to 14 days (Excellent) | Pour within 4 hours max |
| Mixing Ratio | 1:1 Equal Volume (Scoops) | 1:1 Equal Volume (Scoops) | Paste/Liquid reactor droplet ratio |
| Hydrophilic Surface Modification | Yes (Surfactant enriched) | Yes (Surfactant enriched) | Naturally hydrophobic |
4. Putty Mixing Standardization: 30-Second Homogeneity Rule
To achieve complete cross-linking and eliminate unmixed catalyst streaks:
- Level Spoon Measurement: Use color-coded scoops (Blue/White or Purple/White) to measure equal volumes of Base and Catalyst. Never swap scoops between tubs to avoid cross-contamination.
- Finger Kneading Technique: Combine the two components rapidly using finger pads. Avoid palms to limit hand heat transfer.
- Visual Uniformity: Knead rhythmically for 30 seconds until the mixture achieves a 100% streak-free, uniform solid pastel color.
- Tray Loading: Shape the kneaded putty into an elongated cylinder and press evenly into an adhesive-coated impression tray. Seat within the stated clinical working time (typically 1 min 30 sec from start of mixing).
5. Wholesale Packaging & Export Quality Assurance
For dental distributors and institutional procurement networks:
- Commercial Formats: 350g Base + 350g Catalyst kits (400 mL total), 400g + 400g, or bulk clinic packs containing measuring scoops and polyethylene spacer foils.
- Hermetic Foil Seal: Jars are ultrasonically sealed with foil barriers beneath the screw caps to prevent moisture ingress and plasticizer evaporation during long-haul sea freight.
- Quality Standards: Sourced through partners operating under ISO 13485:2016 quality management systems with CE Class IIa certification compliant with ISO 4823:2015 (Dental elastomeric impression materials).
Related EvenDent Products & Guides:
– Products: silicone impression materials – full range in the Impression Materials category hub.
– Further Reading: VPS impression material guide.


 English
 Español
 Português
 Français
 Italiano
 Deutsch
 Русский
 日本語
 한국어
 العربية