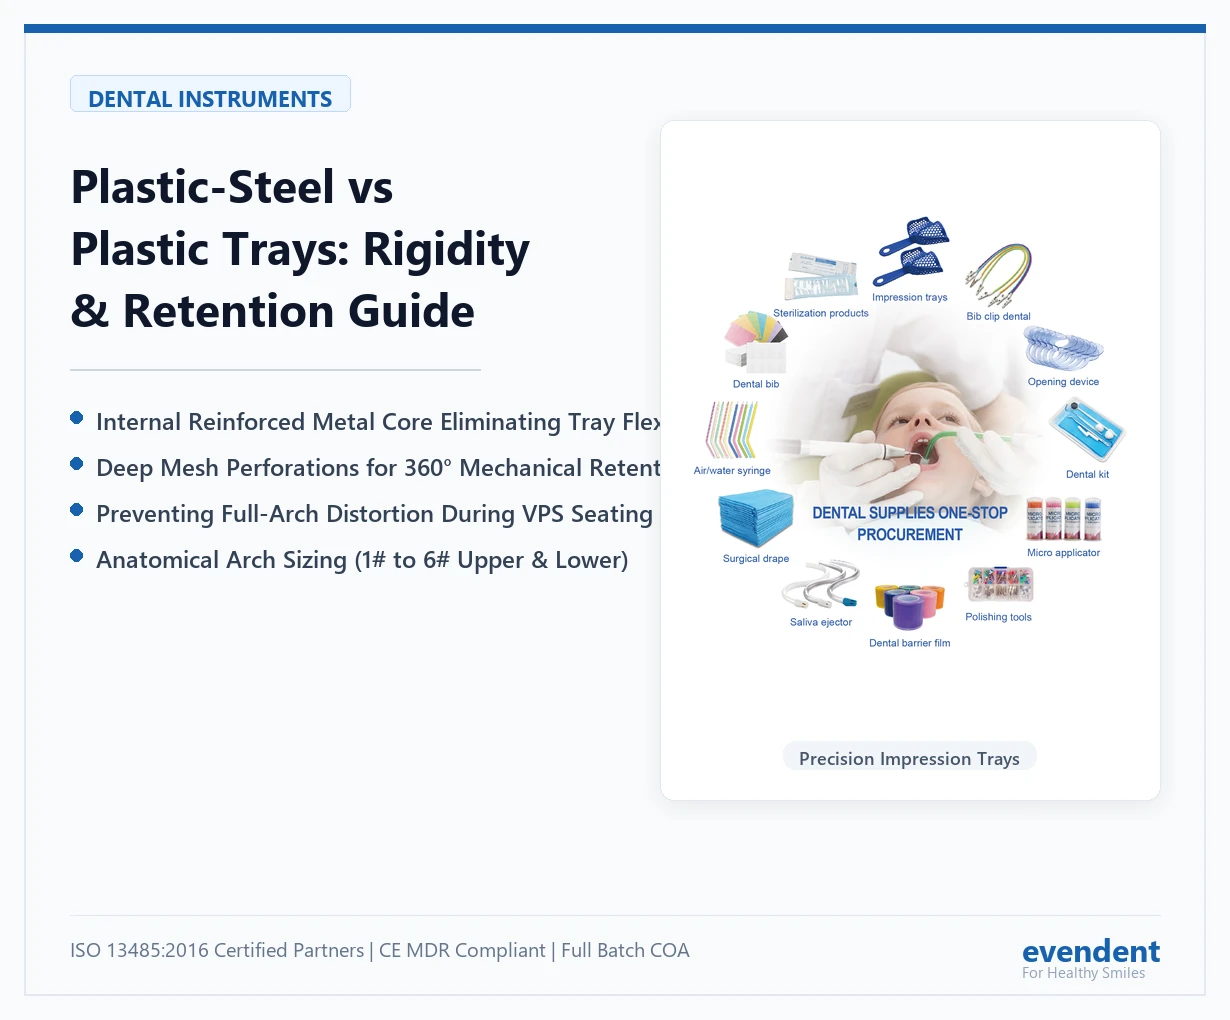

In fixed prosthodontics and implant dentistry, the mechanical rigidity of the impression tray is just as critical as the dimensional stability of the impression material itself. When high-viscosity putty or heavy-body Addition Silicone (VPS) is seated over the dental arch, hydraulic seating pressure can exceed 2.5 MPa. Standard lightweight plastic trays often suffer from microscopic lateral wall flexure during seating; upon mouth removal, the plastic rebounds elastically, producing subtle stone die distortions that ruin crown seating margins.
Plastic-steel composite impression trays combine internal structural metal reinforcement with medical-grade polymer overmolding to eliminate tray flexure while preserving disposable convenience.
1. Mechanical Tribology: Flexural Modulus and Hydrodynamic Seating Distortion
The fundamental biomechanical failure in standard plastic trays is lateral wall deformation:
Standard Polystyrene / Polypropylene Trays
- Low Flexural Modulus: Pure polymer trays exhibit an elastic modulus between 1.5 and 2.8 GPa. Under heavy seating pressure against high-viscosity putty, the buccal and lingual tray flanges flare outward.
- Elastic Spring-Back Rebound: When the tray is dislodged from oral undercuts after material polymerizes, the flared plastic flanges snap back to their original molded shape, compressing the impression material laterally. This produces an undersized stone die and tight, unseatable fixed bridges.
Plastic-Steel Reinforced Composite Trays
- Internal Metal Skeleton: Features an integrated stainless steel or aluminum structural framework overmolded with rigid, biocompatible thermoplastic.
- Elevated Flexural Rigidity: Increases the flexural modulus to over 12.0 GPa, matching the stiffness of traditional cast metal Rim-Lock trays. The tray remains rigid during heavy-body seating and torque-heavy dislodgement.
- Retention Ribbing & Rim-Locks: Molded perimeter undercut rims physically lock the impression material in place, preventing peripheral peeling.
2. Technical Comparison Matrix: Tray Construction & Clinical Specs
| Engineering Metric | Plastic-Steel Composite Tray | High-Impact Polycarbonate Tray | Economy Polypropylene Tray | Traditional Reusable Metal Tray |
|---|---|---|---|---|
| Structural Reinforcement | Internal Metal Frame Overmolded | Rigid Solid Polycarbonate | Unreinforced Polypropylene | Solid Cast Stainless Steel / Brass |
| Flexural Modulus (E) | 12.0 – 15.0 GPa | 3.2 – 4.0 GPa | 1.4 – 2.0 GPa | > 45.0 GPa |
| Flange Wall Flex Under 2 MPa | < 0.05 mm (Negligible) | 0.25 – 0.35 mm | 0.60 – 1.10 mm (High risk) | 0.00 mm (Rigid) |
| Perforation Geometry | Deep hexagonal mechanical locks | Round punch holes | Smooth perforated holes | Rim-lock rim + micro-holes |
| Material Retention Force | Extremely High (> 35 N/cm²) | Moderate (Requires adhesive) | Low (Adhesive mandatory) | High (Mechanical rim lock) |
| Cross-Infection Profile | Single-Patient Disposable | Single-Patient Disposable | Single-Patient Disposable | High Autoclave Labor Burden |
3. Clinical Protocols: Arch Sizing and Adhesive Application
To guarantee complete passive seating and zero material detachment:
- Dry Arch Try-In:
- Select the appropriate quadrant or full-arch size (#1 to #6 Upper/Lower). Ensure a uniform 3.0 mm to 4.0 mm clearance between the tray flange and the buccal/lingual tooth surfaces to accommodate an even thickness of impression material.
- Perforation Cleaning:
- Verify that mechanical retention perforations are unobstructed by molding flash. When tray material extrudes through the mesh, it forms mechanical mushroom heads that lock the set silicone permanently into the tray body.
- Adhesive Integration:
- Even with perforated plastic-steel trays, always apply a thin, uniform layer of VPS tray adhesive across the inner walls and margins. Allow the adhesive to dry for at least 3 to 5 minutes until fully tacky before syringing material.
- Straight-Path Insertion & Removal:
- Seat the loaded tray along a single, continuous axial path without rocking. During removal, break the posterior peripheral seal first with a finger before applying firm, axial extraction force on the rigid handle.
4. Bulk Procurement & Export Packaging Guidelines
When ordering dental impression trays in commercial volume for DSO chains and distributor networks:
- Size Harmonization: Complete 6-size kits containing Upper (Large #1, Medium #2, Small #3) and Lower (Large #4, Medium #5, Small #6) with clear color-coded size identification.
- Molding Precision & Edge Chamfering: Ultrasonic burr removal along all anatomical border curves ensures no sharp plastic edges lacerate delicate alveolar vestibules.
- Container Shipping Density: Stackable nesting design optimizes carton volume, fitting up to 1,200 sets (7,200 pcs) per master export pallet.
- Certification Documentation: Sourced through partners operating under ISO 13485:2016 quality management systems with CE Class I registration and material biocompatibility testing (ISO 10993).
Related EvenDent Products & Guides:
– Products: plastic dental impression tray, plastic steel dental impression tray – full range in the Dental Instruments category hub.
– Further Reading: impression tray selection guide.



 English
 Español
 Português
 Français
 Italiano
 Deutsch
 Русский
 日本語
 한국어
 العربية