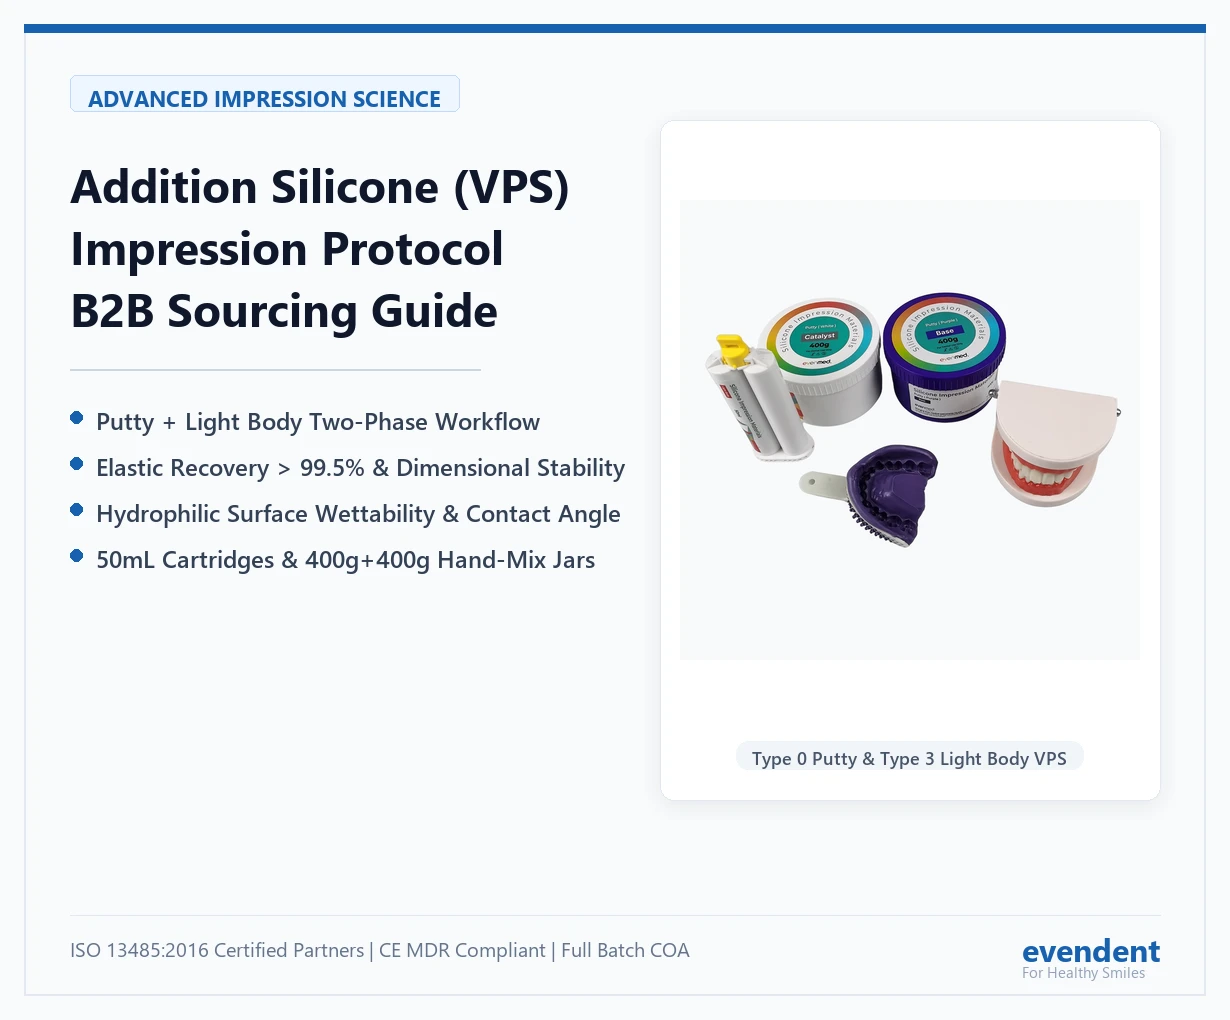

In precision restorative dentistry, capturing microscopic preparation margins, subgingival emergence profiles, and implant positions requires an impression material that delivers near-zero dimensional distortion. While High Precision Alginates excel for study casts, opposing arches, and preliminary impressions, Addition Silicone—also known as Vinyl Polysiloxane (VPS) or Polyvinyl Siloxane (PVS)—is the undisputed gold standard for definitive fixed prosthodontics and implantology.
Unlike traditional condensation silicones (which release alcohol by-products during setting and shrink rapidly), addition-cure silicones polymerize via a platinum-catalyzed hydrosilylation reaction with zero volatile by-products. This chemical stability guarantees exceptional elastic recovery ($>99.5\%$) and remarkable dimensional stability for up to 14 to 28 days.
However, clinical success with VPS depends heavily on selecting the proper viscosity combination, mastering the Putty-Wash technique, avoiding latex sulfur inhibition, and ensuring proper adhesive tray bonding.
This clinical and procurement guide breaks down VPS polymer chemistry, viscosity classifications, step-by-step clinical protocols, and wholesale sourcing standards for dental practices and medical distributors.
1. Material Science: Addition (VPS) vs. Condensation Silicones
Understanding the polymerization chemistry clarifies why addition silicones dominate high-end prosthodontics:
| Feature / Property | Addition Silicone (VPS / A-Silicone) | Condensation Silicone (C-Silicone) | Reversible / Irreversible Hydrocolloid (Alginate) |
|---|---|---|---|
| Polymerization Type | Addition reaction (Platinum-catalyzed hydrosilylation) | Condensation reaction (Organo-tin catalyzed) | Gelation via calcium cross-linking |
| By-Product Release | None (Zero volatile loss during set) | Releases ethyl alcohol (leads to shrinkage) | Water loss via syneresis / evaporation |
| Linear Dimensional Shrinkage (24h) | $< 0.05\% – 0.10\%$ (Negligible) | $0.4\% – 0.7\%$ (Moderate contraction) | High ($> 1.0\%$ if unsealed) |
| Elastic Recovery Rate | $> 99.5\%$ (Highest in dentistry) | $98.0\% – 98.5\%$ | $97.0\% – 98.0\%$ |
| Pouring Window | Immediate or delayed up to 14–28 days | Must be poured within 30–60 minutes | Pour within 30 min (or sealed up to 7 days) |
| Multiple Cast Pours | Yes (Multiple identical stone casts can be poured) | No (Distorts after first pour) | Single pour only |
| Hydrophilicity | Inherently hydrophobic; modified with surfactants | Moderately hydrophobic | Naturally hydrophilic |
2. Viscosity Classifications: Matching the System to the Case
VPS impression systems are formulated in standardized viscosities defined by ISO 4823:
[Type 0: Extra-High (Putty)]    ──► Dense kneadable base; provides rigid hydraulic tray support
[Type 1: High (Heavy Body)]     ──► Cartridge-dispensed tray material for 1-step simultaneous technique
[Type 2: Medium (Monophase)]    ──► Single-viscosity material for complete dentures and pick-up implants
[Type 3: Low (Light Body)]      ──► Ultra-fluid paste injected subgingivally to capture microscopic margins
2.1 Type 0: Putty (Heavy Viscosity / Hand-Mixed)
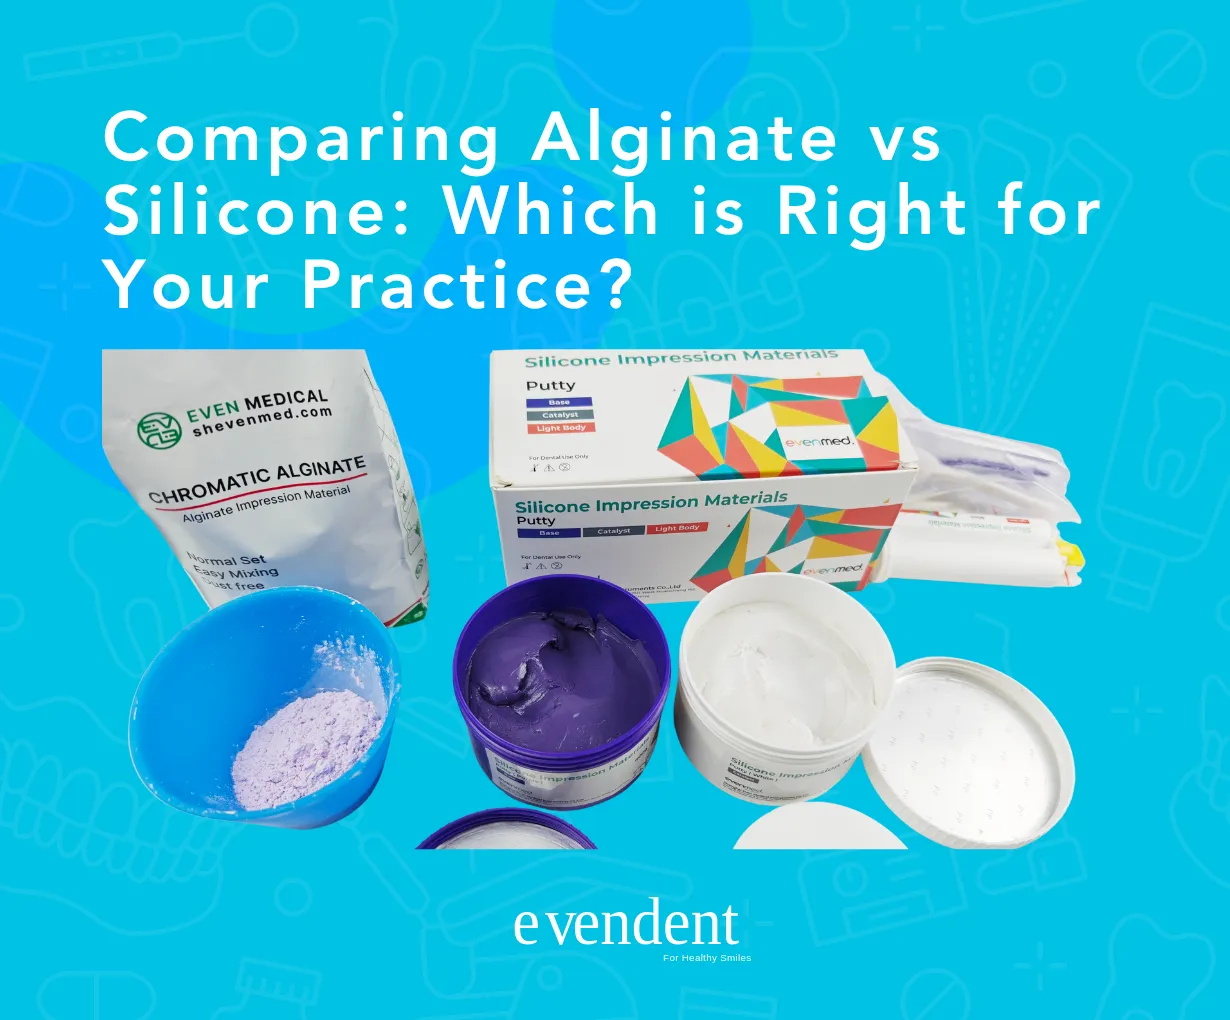
- Packaging: Supplied in dual tubs (Base + Catalyst, typically $400\text{g} + 400\text{g}$).
- Clinical Function: Kneaded by hand to form the stiff foundational matrix inside the impression tray. It exerts hydraulic pressure on the light body wash, forcing it into the retracted gingival sulcus.
2.2 Type 1: Heavy Body (Cartridge-Dispensed)
- Packaging: Standard $50\text{mL}$ dual-barrel cartridges ($1:1$ ratio).
- Clinical Function: Extruded via Dispensing Guns and Green Mixing Tips. Replaces hand-mixed putty in “one-step simultaneous” double-mix techniques.
2.3 Type 3: Light Body / Regular Body (Wash Material)
- Packaging: Standard $50\text{mL}$ cartridges ($1:1$ ratio), dispensed using Yellow Mixing Tips ($4.2\text{mm}$) and intraoral tips.
- Clinical Function: Characterized by high fluidity and low surface contact angles. Injected directly around prepared tooth margins, capture details down to $< 10\ \mu\text{m}$.
3. Clinical Masterclass: The Putty-Wash Technique
There are two primary techniques for capturing fixed crown and bridge impressions:
Technique A: The Two-Step Putty-Wash Technique (Maximum Precision)
The two-step protocol eliminates hydraulic rebound errors and guarantees uniform wash thickness:
[Step 1: Putty Preliminary Impression] ──► [Step 2: Carve Relief Escape Channels] ──► [Step 3: Inject Light Body Wash & Re-seat]
- Preliminary Putty Impression: Seat the loaded putty tray over the dentition (often with a thin polyethylene spacer sheet placed over the teeth to create a uniform $1 – 2\text{ mm}$ wash space). Allow to fully polymerize and remove.
- Carving Relief Channels: With a surgical scalpel, trim away interproximal undercuts and carve diagonal escape grooves from the gingival margins to the tray borders. (Crucial step: Unrelieved putty acts as a hydraulic piston, generating high pressure that prevents the tray from reseating fully).
- Light Body Injection: Dry the prepared teeth thoroughly. Using a dynamic Dispensing Gun and Intraoral Tip, inject Light Body subgingivally around the finish line, keeping the tip submerged in material to prevent air bubbles.
- Re-seating: Immediately reseat the putty tray. Hold completely motionless for 3 minutes 30 seconds to 4 minutes until fully cured.
Technique B: The One-Step Simultaneous Technique (Chairside Speed)
- The assistant loads the impression tray with Heavy Body (or freshly kneaded Putty).
- Concurrently, the clinician injects Light Body around the prepared tooth abutments.
- The tray is seated immediately while both materials are uncured, polymerizing together in a single step.
- Advantage: Saves chair time; eliminates the risk of delamination between separate layers.
- Drawback: Requires precise synchronization between clinician and assistant.
4. Critical Clinical Pitfalls & How to Avoid Them
4.1 The Latex Glove Sulfur Inhibition Disaster
The platinum catalyst in addition silicone is extremely vulnerable to sulfur poisoning.
* The Hazard: Chemical sulfur compounds in powdered or non-powdered latex gloves chemically neutralize the platinum catalyst. If an assistant kneads putty while wearing latex gloves, the surface of the silicone will remain a sticky, unpolymerized paste that never cures.
* Clinical Fix: Strictly wear Vinyl or Nitrile gloves when handling VPS putty. Never touch tooth preparation surfaces with latex gloves prior to impression taking.
4.2 Hemostatic Agent Incompatibility
Ferric sulfate and aluminum chloride hemostatic retraction solutions can inhibit VPS polymerization if allowed to pool in the sulcus.
* Clinical Fix: Rinse the sulcus thoroughly with water spray and dry before injecting Light Body wash.
4.3 Tray Adhesive Delamination
If silicone pulls away from the tray wall during removal from the mouth, the entire impression experiences massive linear distortion.
* Clinical Fix: Always coat the impression tray with a thin layer of specialized VPS Tray Adhesive at least 5 minutes prior to loading, allowing the solvent to evaporate completely.
5. Clinical Decision Matrix: VPS vs. High Precision Alginate
| Clinical Case | Recommended Material | Clinical Rationale |
|---|---|---|
| Single Crown (Equigingival Margin) | High Precision Alginate (E50002) or VPS | Alginate provides adequate $20\ \mu\text{m}$ detail at lower cost; VPS offers delayed pouring flexibility. |
| Multi-Unit Fixed Bridge & Veneers | Addition Silicone (VPS) | Zero dimensional shrinkage preserves parallel path of insertion across multiple preparations. |
| Full-Arch Implant Master Casts | Addition Silicone (VPS / Monophase) | High rigidity holds implant impression copings firmly during model pouring. |
| Full Denture Functional Border Molding | VPS Heavy Body / Putty | High thixotropic viscosity captures accurate muscle attachment boundaries. |
| Diagnostic Study Casts & Ortho Records | Universal Alginate (E50001) | Highly economical, rapid turnaround, and pleasant for patients. |
6. Sourcing & Packaging Configurations for Wholesalers
When importing addition silicone impression materials in bulk, evaluate standard wholesale configurations:
- Putty Packaging: Packaged in matching $400\text{g} \text{ Base} + 400\text{g} \text{ Catalyst}$ plastic tubs with color-coded measuring scoops; 20 to 30 sets per master carton.
- Cartridge Packaging (Light / Heavy Body): Standard $50\text{mL} \times 2$ cartridges per inner box, including 12 disposable mixing tips and 12 intraoral tips; 50 boxes per master carton.
- Regulatory Compliance: Manufactured under ISO 13485 medical quality standards, supported by official National Medical Products Administration Free Sales Certificates (FSC) and CE Class I / IIa notifications.
- Storage Stability: Maintains a 24-month (2-year) shelf life when stored in dry conditions between $15^\circ\text{C}\text{ and }25^\circ\text{C}$.
Logistics Optimization: Sourcing VPS cartridges alongside high-volume consumables—such as Dental Mixing Tips, Dental Bibs, and Type IV Die Stone—enables multi-category container consolidation, minimizing per-unit shipping overhead.
Summary & Key Takeaways
- Addition Silicone (VPS) eliminates shrinkage because it produces zero volatile by-products during setting.
- Never wear latex gloves when kneading putty; use nitrile or vinyl gloves to prevent sulfur inhibition.
- Carve relief channels when executing two-step putty-wash impressions to avoid hydraulic rebound distortion.
- Pour master dies with Type IV Dental Stone to match the microscopic detail captured by the light body wash.
Partner with EvenDent for Your Precision Impression Needs
At EvenDent, our silicone impression systems and impression accessories are manufactured in ISO 13485 certified partner facilities and backed by comprehensive export documentation (CE, FSC, COA, MSDS).
- Super Hydrophilic Formulations: Exceptional wet-field displacement captures subgingival margins with zero tearing.
- Complete System Availability: Putty (Type 0), Heavy Body (Type 1), Monophase (Type 2), and Light Body (Type 3) with full cartridge and accessory support.
- Consolidated B2B Export: Combine silicone impression lines with alginates, model stones, and clinic disposables in a single mixed shipment.
Upgrade your clinical impression accuracy:
- 👉 Request Free Product Samples & Wholesale Price Sheets
- Explore Our Complete Impression Range: View our Impression Materials Category Hub or contact our export team via WhatsApp at +86 180 1638 1172.
Frequently Asked Questions (FAQ)
Q1: How long can I wait before pouring a stone model from a VPS impression?
A: Unlike alginates, VPS impressions can be poured immediately or safely stored for up to 14 to 28 days without measurable dimensional change, provided they are kept away from direct sunlight and extreme heat.
Q2: Can multiple stone casts be poured from the same VPS impression?
A: Yes. Because VPS boasts an elastic recovery rate exceeding $99.5\%$, clinicians and laboratories can pour a second or third model (e.g., an unsectioned solid master model and a sectioned working die model) from a single impression.
Q3: Why is my VPS impression sticky or uncured on the surface?
A: Sticky or uncured surfaces are almost always caused by sulfur contamination from latex gloves, unpolymerized resin bonding air-inhibition layers, or residual sulfur-containing hemostatic agents in the gingival sulcus.

 English
  Español
  Português
  Français
  Italiano
  Deutsch
  Русский
  日本語
日本語  한국어
한국어  العربية