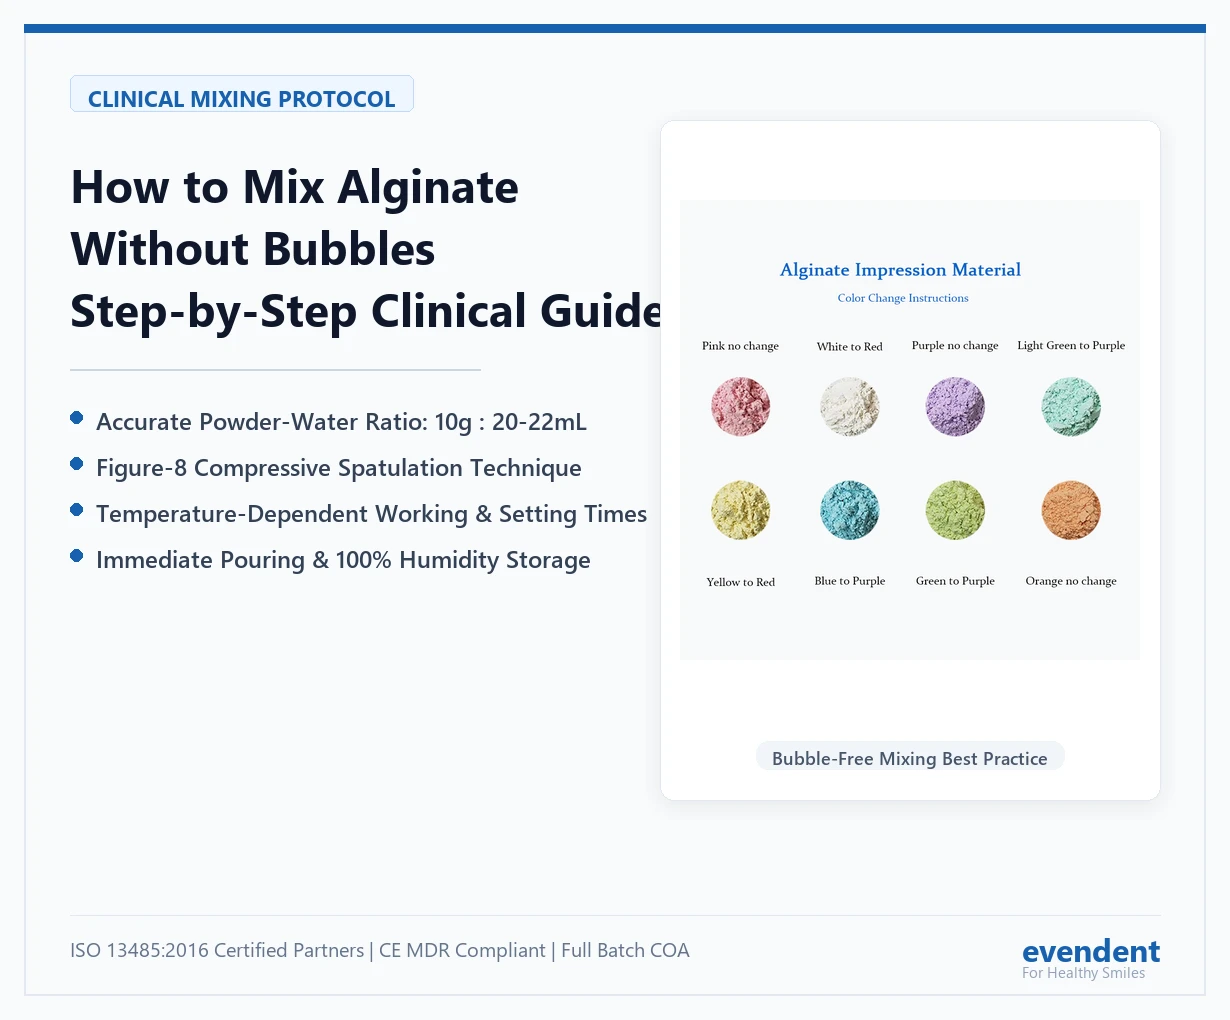

Few things frustrate a busy dental clinic more than an impression ruined by air bubbles, lumps, or torn margins. Having to re-seat an impression tray wastes chair time, strains clinic scheduling, and causes unnecessary discomfort for the patient.
While many practitioners assume that bubbles are an unavoidable drawback of alginate compared to expensive silicones, over 90% of alginate impression defects stem from improper mixing technique, incorrect water-to-powder ratios, or timing errors.
When mixed correctly, modern dust-free alginate—such as High Precision Alginate (E50002)—delivers a creamy, bubble-free consistency that captures fine preparation margins down to $20\ \mu\text{m}$.
This step-by-step clinical guide provides proven protocols, exact ratios, and troubleshooting tables to ensure your clinical team achieves glass-smooth, void-free impressions every single time.
1. The Core Fundamentals: Exact Measuring & Temperature Control
The chemical reaction of alginate is a precision sol-gel polymerization. Guessing powder and water quantities by eye is the leading cause of clinical inconsistency.
1.1 The Golden Powder-to-Water Ratio
- Standard Dental Proportion: 10 g powder : 20–22 mL water (approximately a $1:2$ volumetric ratio).
- Single Quadrant / Partial: $10\text{ g}$ powder with $20–22\text{ mL}$ water.
- Full Arch (Upper or Lower): $20\text{ g}$ powder with $40–44\text{ mL}$ water (using 2 standard dental scoops and 2 water marks).
Critical Rule: Never exceed $25\text{ mL}$ of water per $10\text{ g}$ of powder. Excess water dilutes the calcium sulfate and sodium alginate matrix, creating a runny paste that collapses under gravity, takes twice as long to set, and exhibits weak tear resistance.
1.2 Water Temperature & Its Effect on Working Time
The international reference standard for alginate mixing is $23^\circ\text{C}\ (73^\circ\text{F})$.
* Warm Water ($>25^\circ\text{C}$): Accelerates the setting reaction. Every $2^\circ\text{C}$ increase cuts working time by approximately 15–20 seconds.
* Cold Water ($<20^\circ\text{C}$): Retards setting time, granting additional working window for challenging patients or multi-unit tray loading.
2. Step-by-Step Protocol for Void-Free Alginate Mixing
Follow this 5-step clinical workflow to eliminate air entrapment and unmixed powder pockets:
[Step 1: Fluff & Measure]  --->  [Step 2: Water First, Powder Second]  --->  [Step 3: 30s Vigorous Wall-Scraping]
                                                                                            |
[Step 5: Snap Removal]     <---  [Step 4: Load & Seat Within 1'30'']    <-------------------+
Step 1: Fluff the Powder
Alginate powder compacts tightly during shipping and storage. Before opening or scooping:
1. Invert and shake the sealed storage container 2–3 times.
2. Scoop lightly without packing the powder down against the container wall.
3. Level off the top of the measuring scoop using a flat spatula edge.
Step 2: Always Pour Water First, Then Add Powder
- Why it matters: Putting powder into a dry bowl first traps pockets of unmixed dry granules at the curved bottom.
- Pour your measured $23^\circ\text{C}$ water into a clean, dry, flexible rubber bowl first.
- Gently sprinkle the leveled powder on top of the water.
Step 3: The 30-Second “Wall-Scraping” Technique
- Initial Incorporation (First 5–10 Seconds): Hold the bowl in your palm. Stir gently with a curved dental spatula to wet all dry powder particles without splashing.
- Vigorous Wiping (Next 20 Seconds): Rotate the rubber bowl in your left hand while pressing the flat blade of the spatula firmly against the interior bowl wall with your right hand.
- Smearing Action: Spread and wipe the paste in broad, sweeping figure-8 strokes against the wall. This smearing pressure forces trapped micro-air bubbles to burst and guarantees complete dissolution of all powder granules.
- Total Mixing Window: Complete the entire process in 30 seconds. The finished paste should look like smooth, glossy cake icing.
Step 4: Loading the Impression Tray
- Gather the mixed alginate onto the spatula in one or two clean passes.
- Load the tray from the posterior toward the anterior, packing the material firmly against the Perforated Impression Tray to force air out of the tray retention holes.
- Use a lightly moistened, gloved finger to smooth the surface of the loaded tray before intraoral insertion.
- Time Gate: Ensure the tray is seated inside the patient’s mouth within 1 minute 30 seconds of starting the mix.
Step 5: Intraoral Seating & “Snap” Removal
- Seat posterior teeth first, then rotate the anterior portion upward/downward to allow excess material to vent forward rather than into the pharynx.
- Hold the tray completely motionless for 1 minute (60 seconds) in the mouth.
- The “Snap” Technique: Break the peripheral seal by lifting the lip or blowing a gentle puff of air along the cheek margin. Then, pull the tray out with a swift, firm motion along the long axis of the teeth.
(Never wiggle, rock, or twist the tray side-to-side, as lateral shearing forces tear delicate interproximal tags).
3. Clinical Troubleshooting Table (Defect, Cause & Fix)
| Clinical Defect | Root Cause | Preventive Clinical Fix |
|---|---|---|
| Pitted Surface / Micro-Bubbles | Air whipped into paste during circular stirring; powder poured before water. | Always add water first. Use broad, firm spatula smearing strokes against the bowl wall. |
| Grainy / Chalky Plaster Cast Surface | Gypsum poured after alginate started syneresis (drying out); impression not rinsed of saliva. | Thoroughly rinse impression with cold water; blow off excess pooling; pour with Type IV Dental Stone within 30 minutes. |
| Premature Stiffening During Seating | Hot water ($>25^\circ\text{C}$) used; mixing exceeded 40s; patient mouth temperature accelerated set. | Measure water temperature; use cold tap water ($18–20^\circ\text{C}$) in summer; monitor chromatic color shifts. |
| Torn Margins Around Undercuts | Tray rocked side-to-side during removal; low tear-strength alginate; excess water ratio. | Use “snap” removal along long axis; maintain exact $10\text{g}:20–22\text{mL}$ ratio; upgrade to High Precision E50002. |
| Incomplete Tray Seating (Thick Palate) | Tray inserted after working time expired ($>1\text{m }30\text{s}$); material had entered elastic phase. | Load and seat immediately upon 30s mixing completion. |
4. Why Chromatic Color-Changing Alginate Prevents Timing Errors
For clinics with new dental assistants or training institutions, human timing errors remain the primary variable. This is where Chromatic Phase-Indicator Alginates provide an immense advantage:
- Violet / Blue Phase (0–30s): Indicates active mixing. Keep spatulating until color begins to shift.
- Pink Phase (30–90s): Signals the tray loading and positioning window. Insert into the mouth while still pink.
- White / Green Phase (90–150s): Confirms complete intraoral polymerization. Safe to remove without permanent deformation.
By turning chemical milestones into clear visual cues, clinics report up to a 40% reduction in impression remakes.
5. Post-Impression Handling & Storage Rules
Alginate is a hydrocolloid susceptible to both syneresis (sweating out fluid and shrinking) and imbibition (absorbing water and swelling).
- Disinfection: Rinse off blood and saliva under cold running water. Spray with a certified intermediate-level hospital disinfectant (e.g., glutaraldehyde or quaternary ammonium spray) for 10 minutes. Do not submerge the impression in liquid for extended periods.
- Immediate Pouring: For maximum accuracy, pour with High-Strength Model Gypsum within 15 to 30 minutes.
- Delayed Pouring (Up to 7 Days): If sending impressions to an external commercial dental laboratory, seal the disinfected impression in an airtight zipper pouch with a damp cotton roll (not soaking wet). Certified formulations like EvenDent High Precision maintain dimensional stability for up to 168 hours (7 days) when properly sealed.
Upgrade Your Clinic’s Impression Quality with EvenDent
Tired of inaccurate impressions and costly material waste?
At EvenDent, our High Precision (E50002) and Super High Precision (E50003) alginate formulations feature dust-free $20\ \mu\text{m}$ particle fineness, 97.0% elastic recovery, and clear chromatic timing indicators to guarantee bubble-free clinical margins.
- Clinically Certified: Manufactured in ISO 13485 accredited partner facilities with full CE Class I and NMPA FSC documentation.
- Standard & Bulk Options: Clinic-ready 500g foil bags (24 bags/ctn) and 25kg bulk supply available.
Experience the difference in your practice:
- 👉 Request Free Product Samples for Your Dental Clinic
- Direct Wholesale & Distribution Inquiry: Chat with our export specialists via WhatsApp at +86 180 1638 1172.
Frequently Asked Questions (FAQ)
Q1: Can I use an automatic alginate mixer to eliminate bubbles?
A: Yes. Centrifugal vacuum or motorized alginate mixers achieve completely bubble-free results in 8–10 seconds. However, hand-mixing using the 30-second wall-smearing technique described in this guide achieves virtually identical clinical results without the equipment cost.
Q2: Why does alginate stick to the patient’s teeth after removal?
A: If tooth enamel is excessively dry, alginate may adhere to dry surfaces. Have the patient rinse with water prior to tray insertion, and ensure teeth are lightly moist (not saliva-pooled) when seating the tray.
Q3: How does water hardness affect alginate setting?
A: Very hard tap water containing high mineral concentrations (calcium/magnesium) can accelerate setting time and create a grainy mix. If local tap water quality is inconsistent, use distilled or deionized water at $23^\circ\text{C}$ for predictable results.
 English
  Español
  Português
  Français
  Italiano
  Deutsch
  Русский
  日本語
日本語  한국어
한국어  العربية