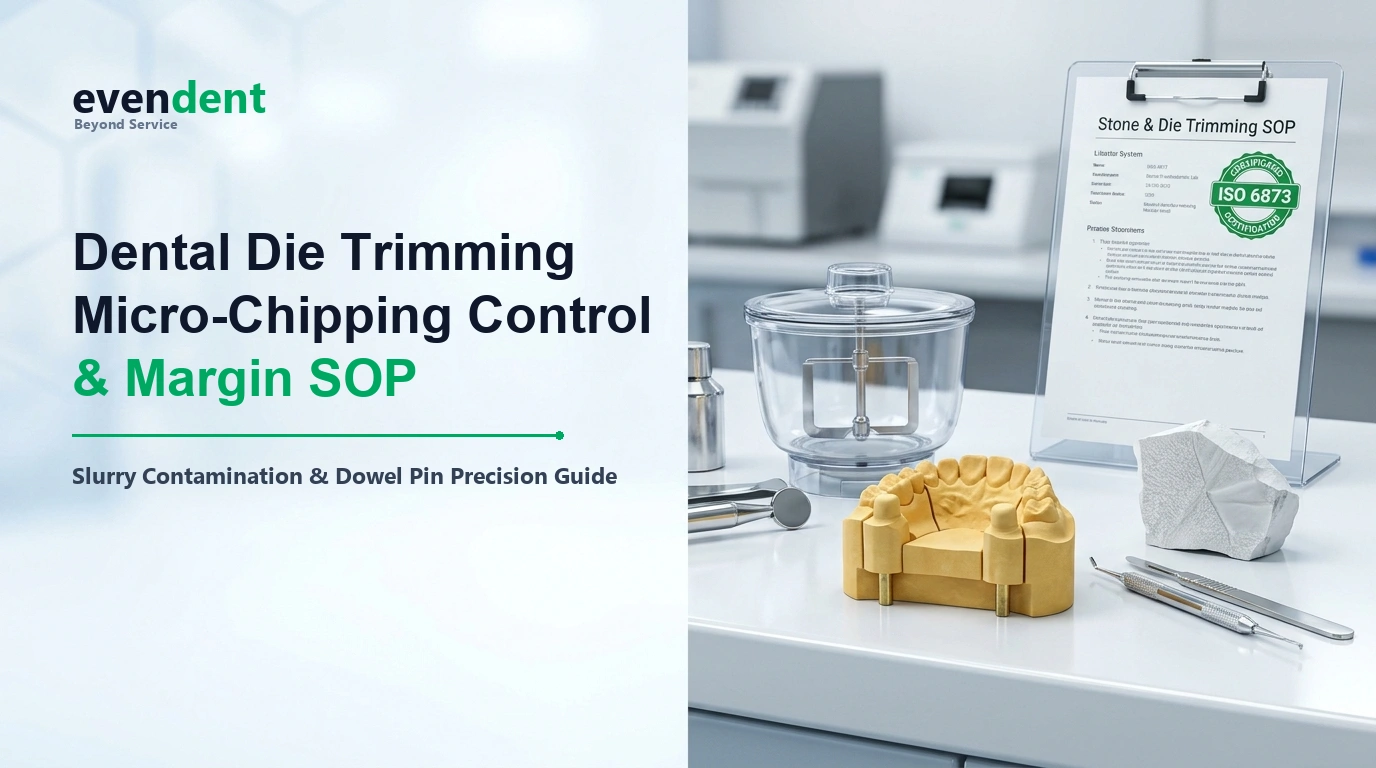

In the fabrication of fixed dental prostheses, crowns, inlays, and CAD/CAM milled monolithic restorations, the master die represents the ultimate biological boundary. The dental technician must visualize and protect an ultra-fine preparation finish line that is often less than 40 μm in thickness.
Even when poured using premium Type IV Dental Die Stone, careless trimming techniques can ruin an otherwise perfect impression. Exposure to aggressive wet trimmer slurry, premature trimming before full crystalline maturation, or abrasive carbide bur chatter can cause microscopic margin chipping, leading to over-contoured restorations, subgingival overhangs, and periodontal inflammation.
1. Crystallization Maturation: Why 2 Hours Make the Difference
Gypsum hydration undergoes two distinct hardening phases: initial loss of gloss (setting time) and long-term crystal interlocking:
+------------------------------------------------------------------------+
|                 TYPE IV DIE STONE STRENGTH DEVELOPMENT                 |
+------------------------------------------------------------------------+
| 30 Minutes Post-Pour (Initial Demolding Phase):                        |
| Compressive Strength: ~20 - 25 MPa (Only ~35% of maximum capacity)     |
| ---> Brittle, moist crystal network; High vulnerability to chipping   |
| ===> NEVER trim preparation margins at 30 minutes!                     |
|                                                                        |
| 2 Hours Post-Pour (Recommended Laboratory Trimming Window):            |
| Compressive Strength: > 60 - 65 MPa (>90% full mechanical strength)   |
| Hardness: Rockwell M 85+ (Resists bur vibration & edge shear)          |
| ===> Safe for high-speed carbide ditching & microscope margin carving   |
+------------------------------------------------------------------------+
The Moisture Fracture Mechanism
At 30 minutes, excess gauging water is still dispersed throughout the hemihydrate crystal lattice. Applying an abrasive trimming wheel creates localized hydraulic pressure spikes within micro-capillaries, causing delicate preparation margins to flake off cleanly along cleavage planes.
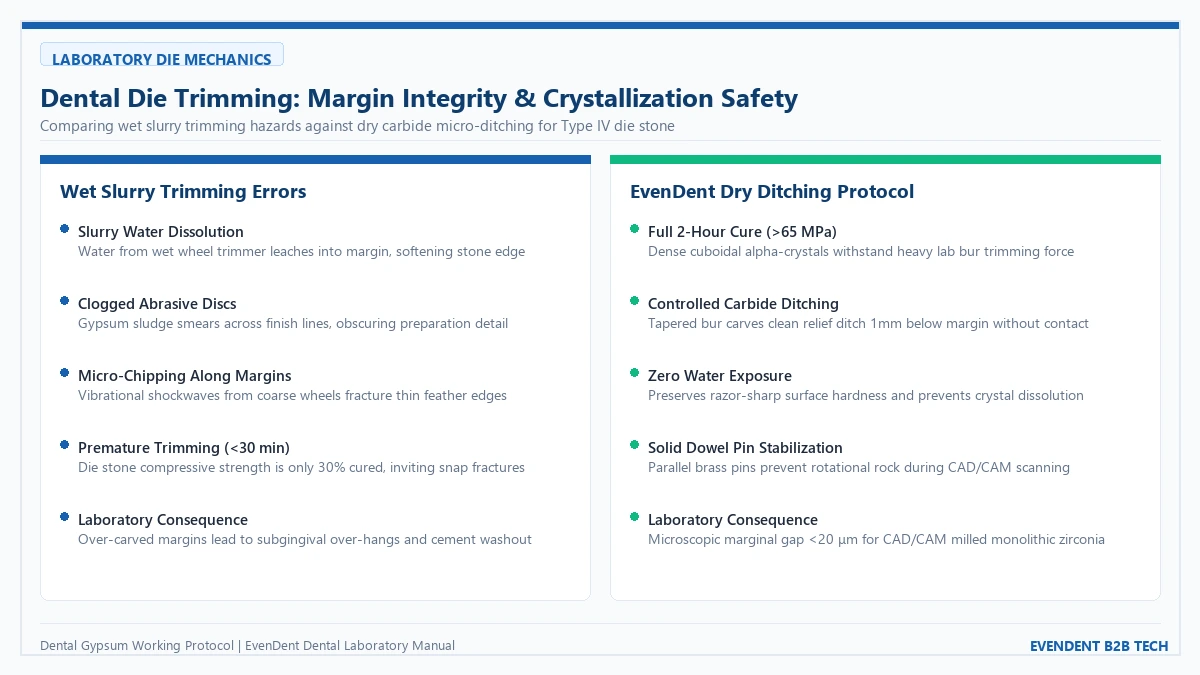
2. The Wet Trimmer Hazard: Slurry Water Dissolution
A widespread laboratory habit is using a coarse wet model trimmer wheel to shape the base of a sectioned die:
* The Solubility Vulnerability: Calcium sulfate dihydrate (set stone) exhibits finite water solubility (~2.4 g/L at 20°C). When tap water or dirty trimmer slurry washes across a fresh die, microscopic surface crystals dissolve instantly.
* Abrasive Sludge Contamination: Fine gypsum particles suspended in the trimmer runoff smear into the subgingival finish line, obscuring the margin under the laboratory microscope.
* Best Practice: Use wet trimmers solely for rough gross trimming of the primary arch base prior to sectioning. Once dies are cut, all margin ditching must be performed completely dry using rotary carbide burs and dust suction.
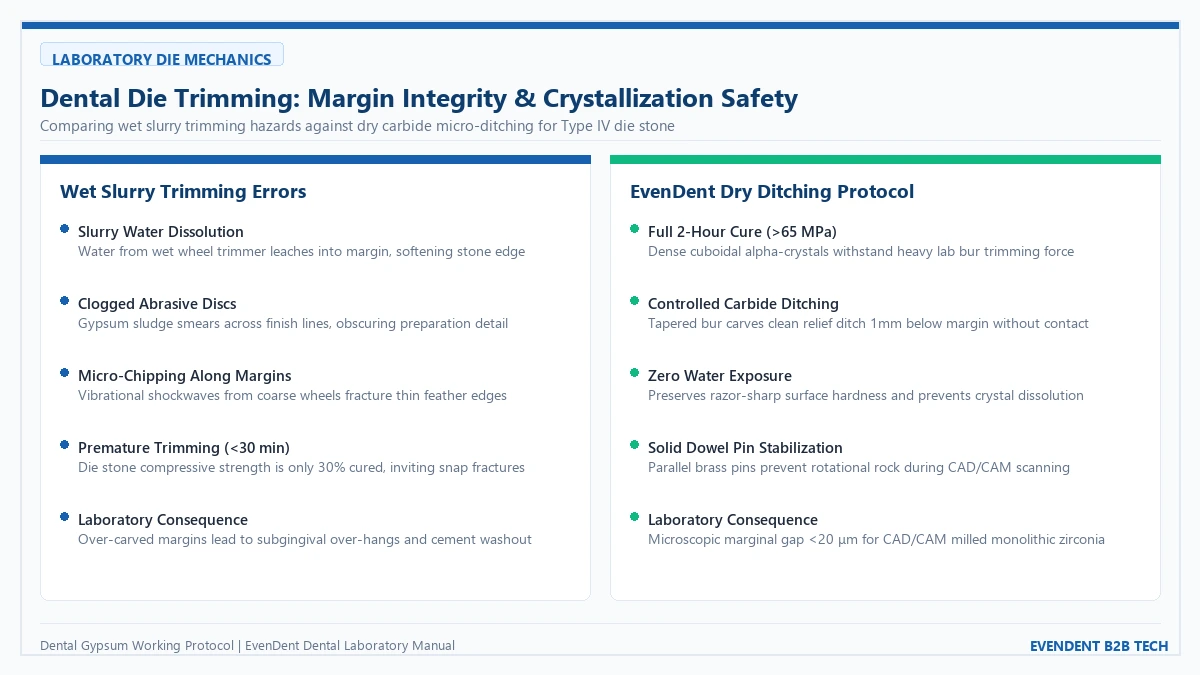
3. The Controlled Micro-Ditching Technique
To expose the finish line without contacting or dulling the prepared margin:
| Step | Instrument Recommended | Rotational Speed | Objective & Precautions |
|---|---|---|---|
| 1. Gross Base Reduction | Laboratory Plaster Knife or Dry Wheel | Low / Manual | Flatten base of cast perpendicular to long axis of preparations |
| 2. Sectioning Sawing | Ultra-Thin Diamond Saw Blade (0.15mm) | Hand Saw / 5,000 RPM | Saw from base toward margin; stop 0.5 mm before touching tooth prep |
| 3. Die Snap Separation | Gentle Finger Pressure | Manual | Break the remaining 0.5 mm bridge to preserve exact interproximal contact |
| 4. Sub-Marginal Ditching | Pear-Shaped or Tapered Carbide Bur | 12,000 – 15,000 RPM | Create a 1.0 mm deep concave ditch 1 mm BELOW finish line; never touch line |
| 5. Microscope Margin Clean | Dissecting Scalpel (#15 Blade) | Manual hand cleave | Lightly smooth cervical stone below margin under 10x-20x magnification |
4. Dowel Pin Alignment & Antirotational Stability
Master dies must seat back into the working cast with absolute, repeatable passive fit:
* Rotational Rocking Hazard: Single cylindrical pins allow microscopic rotational wobble. A rotational deflection of merely 0.5 degrees at the base translates to over 100 μm of displacement at the occlusal cusp.
* Dual-Pin & Flat-Back Stabilization: Always employ dual parallel brass pins or flat-sided anti-rotational dowels. Ensure the base holes are reamed smoothly without stone debris to guarantee that the die seats fully to its positive mechanical stop.


 English
 Español
 Português
 Français
 Italiano
 Deutsch
 Русский
 日本語
 한국어
 العربية