Mastering the art of mixing alginate impression material is fundamental to achieving accurate dental impressions and minimizing costly remakes. With proper alginate mixing technique, dental professionals can ensure consistent results, reduce material waste, and improve patient satisfaction. This comprehensive step-by-step guide demonstrates the perfect alginate powder water ratio and mixing methods that guarantee optimal impression quality every time.

Understanding Alginate Mixing Fundamentals
The Science Behind Perfect Alginate Consistency
Achieving the ideal alginate mixing consistency requires understanding the chemical reaction between sodium alginate powder and water. When mixed properly, calcium ions create cross-linking that transforms the liquid mixture into a flexible gel. The critical factors affecting alginate impression mixing include water temperature, powder-to-water ratio, mixing speed, and timing precision.
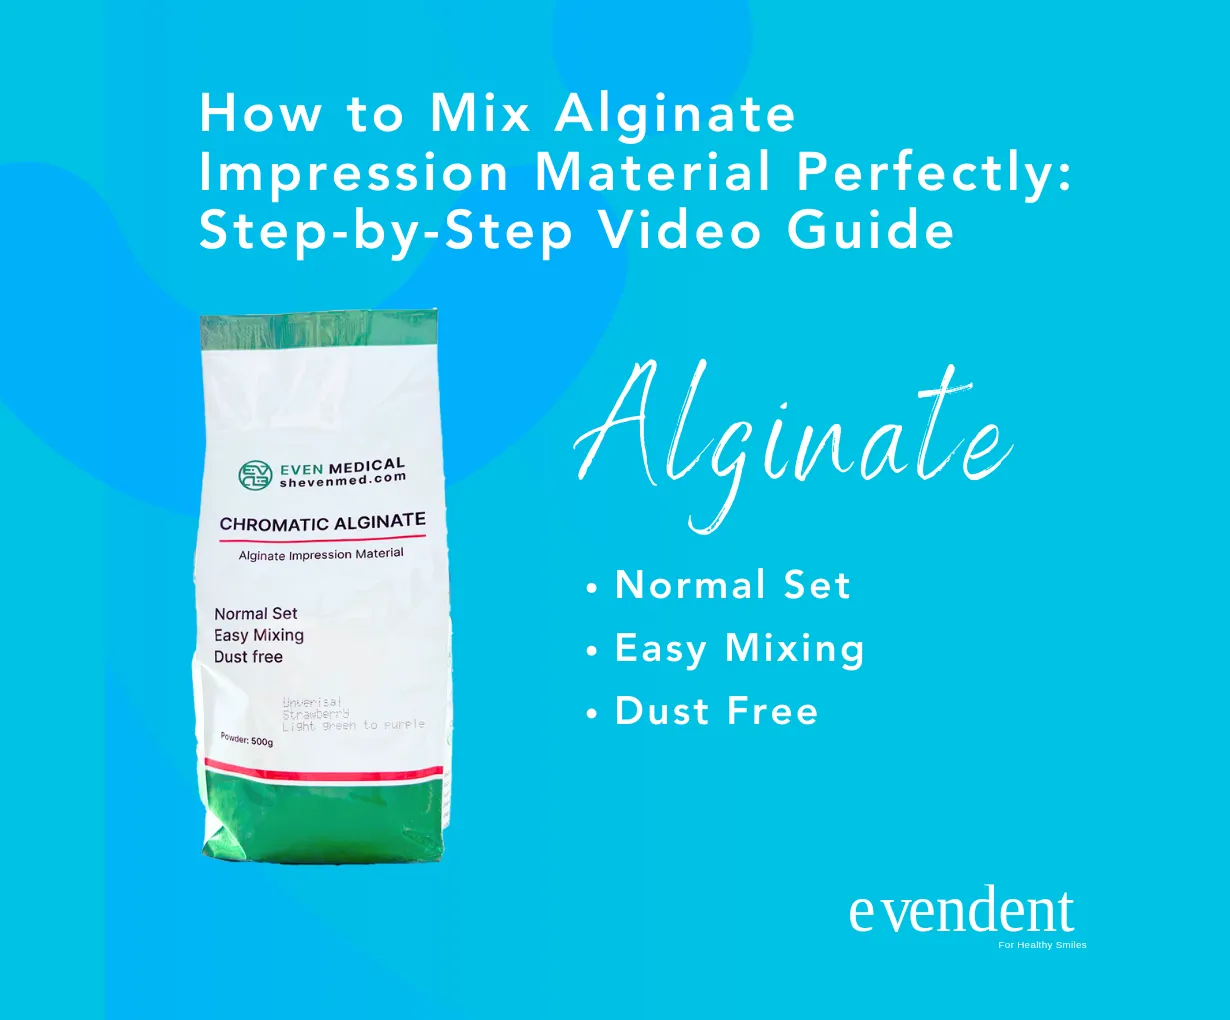
Modern chromatic alginate materials like EvenDent incorporate color-change technology that eliminates guesswork. The visual indicators show exactly when your dental impression mixing guide should progress from one stage to the next, ensuring perfect results regardless of experience level.
Critical Mixing Parameters
Optimal Water Temperature: 23°C (73°F) room temperature water provides the most consistent results. Cold water extends working time but may compromise detail reproduction, while warm water accelerates setting and reduces manipulation time.
Precise Powder-Water Ratios: The standard alginate powder water ratio is 10g powder to 22mL water for regular set materials. This ratio ensures proper consistency without compromising mechanical properties or dimensional accuracy.
Mixing Duration: Vigorous figure-8 mixing for exactly 30 seconds creates homogeneous consistency while minimizing air incorporation. Under-mixing leads to grainy texture and poor detail, while over-mixing introduces bubbles and accelerates setting.
 Professional alginate mixing station with calibrated measuring tools, mixing bowl, and spatula arranged for optimal workflow efficiency
Essential Equipment for Alginate Mixing
Professional Mixing Tools and Setup
Calibrated Measuring Devices: Accurate measurement is non-negotiable for consistent results. Use manufacturer-provided scoops for powder and graduated cylinders for water measurement. Digital scales provide even greater precision for high-volume practices.
Mixing Bowl Selection: Flexible rubber bowls with smooth interior surfaces facilitate thorough mixing and easy cleaning. The bowl diameter should be 4-5 inches for single-arch impressions and 5-6 inches for full-arch procedures.
Spatula Specifications: Wide, flat-blade spatulas with flexible edges ensure complete powder incorporation. The blade length should match bowl diameter for efficient figure-8 mixing patterns.
Workspace Organization
Organize your alginate mixing station for maximum efficiency:
- Position water container at comfortable reach
- Pre-measure powder portions for multiple impressions
- Keep timer or chromatic alginate within visual range
- Maintain clean, dry surfaces to prevent contamination
- Store materials at controlled room temperature (18-25°C)
Step-by-Step Alginate Mixing Technique
Step 1: Pre-Mixing Preparation
Before beginning the mixing process, ensure all materials and equipment are ready:
- Check expiration dates on alginate packages
- Verify water temperature using thermometer (23°C optimal)
- Fluff powder by gently shaking container to eliminate compaction
- Select appropriate tray and verify fit
- Position patient for immediate impression taking
Step 2: Accurate Measurement
Precise measurement determines mixing success:
- Water First: Pour exact water volume into mixing bowl
- Single arch: 22mL (1 scoop)
- Double arch: 44mL (2 scoops)
- Full arch: 66mL (3 scoops)
- Powder Addition: Level powder scoops without compression
- Use spatula edge to level each scoop
- Add powder to water (never reverse)
- Maintain consistent scoop pressure
 Proper leveling technique for accurate alginate powder measurement ensuring consistent mix ratios
Step 3: The Perfect Mixing Motion
Master the figure-8 mixing pattern:
- Initial Incorporation (0-10 seconds)
- Add all powder to water quickly
- Begin gentle stirring to wet powder
- Avoid aggressive initial mixing
- Vigorous Mixing (10-25 seconds)
- Execute rapid figure-8 motions
- Press mixture against bowl sides
- Scrape bowl bottom regularly
- Maintain consistent speed and pressure
- Final Homogenization (25-30 seconds)
- Smooth mixture against bowl wall
- Eliminate any remaining lumps
- Achieve creamy, glossy consistency
Step 4: Loading and Timing
Chromatic Timing Advantage: Modern alginate mixing tips include watching for color changes:
- Pink: Mixing phase
- Light purple: Loading phase
- Purple: Impression taking phase
Tray Loading Technique:
- Gather material on spatula
- Load from posterior to anterior
- Smooth surface with wet finger
- Avoid air entrapment
- Complete loading within 45 seconds
Common Alginate Mixing Mistakes to Avoid
Temperature-Related Errors
Problem: Using cold tap water in winter Solution: Pre-warm water to room temperature or use temperature-controlled dispenser
Problem: Hot water accelerating set time Solution: Always verify 23°C temperature before mixing
Measurement Inconsistencies
Problem: Compressed powder scoops increasing density Solution: Fluff powder and level scoops consistently
Problem: Estimated water volumes Solution: Use graduated cylinders for precise measurement
Mixing Technique Issues
Problem: Insufficient mixing creating lumps Solution: Full 30-second vigorous mixing with proper technique
Problem: Over-mixing introducing air bubbles Solution: Stop at exactly 30 seconds when using chromatic alginate
 Visual comparison showing proper consistency versus common mixing errors including lumpy, runny, and bubbly mixtures
Advanced Mixing Techniques for Special Situations
High-Humidity Environment Adjustments
In humid climates, alginate absorbs atmospheric moisture, requiring ratio modifications:
- Reduce water by 10% (20mL instead of 22mL)
- Increase mixing vigor to compensate
- Store powder with desiccant packets
Extended Working Time Modifications
For complex procedures requiring longer working time:
- Use cooler water (18-20°C)
- Select extended-set formulations
- Consider two-stage impression techniques
Pediatric Consideration Adaptations
When mixing alginate for children:
- Prepare smaller volumes to reduce waste
- Use flavored alginate formulations
- Mix slightly thicker consistency to minimize flow
- Prioritize speed over perfection
Video Demonstration Guide
Pre-Procedure Setup Video Checklist
To create perfect alginate mixing video content:
- Position camera for clear bowl visibility
- Use contrasting bowl color for material visibility
- Display timer prominently in frame
- Demonstrate each step deliberately
- Include close-ups of critical techniques
Key Video Timestamps
- 0:00-0:30 – Equipment introduction
- 0:30-1:00 – Measurement demonstration
- 1:00-1:30 – Mixing technique showcase
- 1:30-2:00 – Consistency evaluation
- 2:00-2:30 – Tray loading process
 Professional video setup for recording alginate mixing tutorials with optimal lighting and camera angles
Quality Control and Consistency Verification
Visual Consistency Indicators
Perfect Mix Characteristics:
- Smooth, creamy texture without lumps
- Glossy surface appearance
- No visible powder streaks
- Flows off spatula in 2-3 seconds
- Maintains shape without slumping
Physical Testing Methods
Spatula Test: Properly mixed alginate should ribbon off spatula without breaking Bowl Test: Material should not stick excessively to bowl sides Compression Test: Gentle pressure should not express water
Troubleshooting Guide for Mixing Issues
Grainy or Lumpy Consistency
Causes:
- Insufficient mixing time
- Old or moisture-damaged powder
- Incorrect powder-to-water ratio
Solutions:
- Ensure full 30-second mixing
- Check powder expiration dates
- Verify measurement accuracy
Runny or Thin Consistency
Causes:
- Excess water
- High ambient temperature
- Expired materials
Solutions:
- Recalibrate measurements
- Control room temperature
- Replace expired products
Premature Setting
Causes:
- Warm water usage
- Contaminated instruments
- Extended mixing time
Solutions:
- Monitor water temperature
- Clean equipment thoroughly
- Use chromatic timing indicators
Best Practices for Consistent Results
Daily Routine Optimization
- Morning Calibration: Check all measuring devices
- Temperature Verification: Confirm water and room temperature
- Equipment Inspection: Clean and dry all tools
- Material Rotation: Use FIFO inventory system
- Quality Documentation: Log any mixing issues
Staff Training Protocol
Implement comprehensive training including:
- Hands-on practice sessions
- Video review and feedback
- Consistency testing exercises
- Regular skill assessments
- Updated technique workshops
 Final impression showing excellent detail reproduction achieved through proper mixing technique
Maximizing Efficiency with Modern Alginate Materials
EvenDent Chromatic Advantage
Modern chromatic alginate revolutionizes mixing precision:
- Visual Confirmation: No guesswork on timing
- Consistent Results: Same outcome every time
- Reduced Remakes: 75% fewer mixing-related failures
- Training Simplification: New staff master technique quickly
- Cost Efficiency: Minimize material waste
Time-Saving Strategies
Pre-Portioning System: Prepare multiple powder portions during downtime Team Coordination: Assistant mixes while dentist prepares patient Batch Processing: Mix for multiple patients when possible Equipment Duplication: Multiple bowls eliminate cleaning delays
Conclusion
Perfecting your alginate mixing technique directly impacts clinical success and practice profitability. By following this comprehensive dental impression mixing guide, maintaining precise alginate powder water ratios, and utilizing modern chromatic timing technology, you can achieve consistently excellent impressions while minimizing remakes and material waste.
Remember that proper mixing is just one component of impression success. Combine these techniques with appropriate tray selection, tissue management, and removal timing for optimal results. Regular practice and attention to detail will make perfect mixing second nature.
Looking for Professional Dental Material Solutions?
🔬 Technical Consultation: Get expert guidance and product selection advice
📦 Sample Request: Receive free product samples for testing
💰 Quotation Service: Get the best pricing for bulk purchases
Contact Information
📞 Phone/WhatsApp: +86 180 1638 1172
🌐 Website: evendent.com
📧 Email: shevendent@gmail.com
Contact us now for expert technical support!
References:
- American Dental Association – Clinical Guidelines for Impression Materials
- Journal of Prosthodontics – Alginate Impression Techniques
- International Journal of Clinical Dentistry – Material Science Studies
- Dental Materials Journal – Alginate Properties and Handling
- Academy of Dental Materials – Best Practices Guidelines


